How to Create Textured Normal Maps in GIMP?
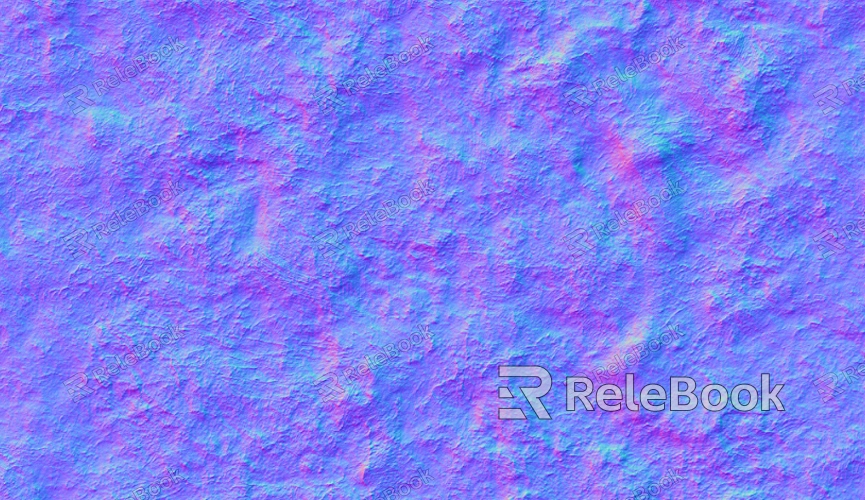
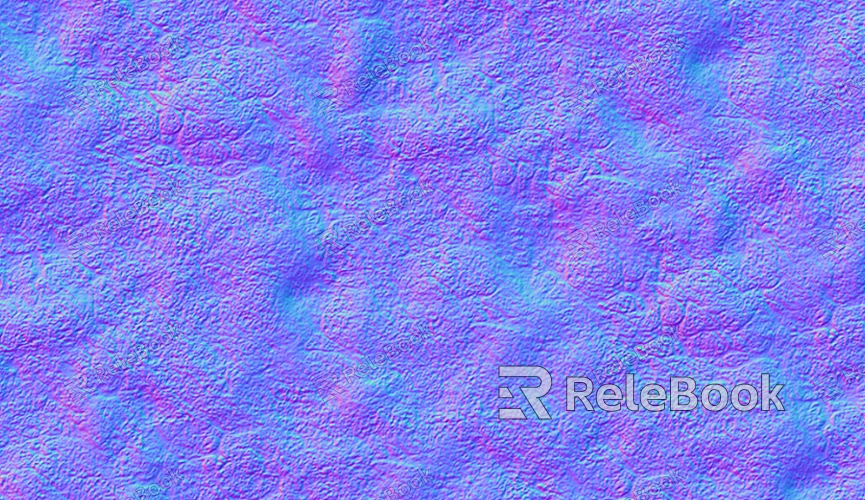
Normal maps are a widely used technique in computer graphics to simulate surface details and depth. By using normal maps, developers and designers can add intricate surface details like wrinkles, cracks, or irregular textures to objects without increasing polygon counts, enhancing the visual appeal. Creating textured normal maps in GIMP is straightforward but requires specific steps and techniques. This article provides a comprehensive guide on generating textured normal maps in GIMP to enhance your 3D models’ realism and detail.

Preparation
Before creating a normal map, you’ll need some basic assets. Typically, this starts with a texture image or related visual material that serves as the foundation for generating the normal map. If you don’t already have a texture image, you can create one from scratch using GIMP’s built-in tools like brushes. Ensure that GIMP is installed on your computer and that you are familiar with basic operations, such as opening files and resizing images.
Creating a Base Texture
The first step in creating a textured normal map in GIMP is determining the type of surface effect you want. For instance, if you’re aiming for a rock surface, you can either select a suitable texture image or use GIMP’s filters to create a similar effect. Common methods for generating textures include:
Using Noise: Utilize the “Noise” feature under the “Filters” menu to create irregular patterns.
Texture Overlay: Overlay a simple pattern onto the base image to add complexity to the texture.
These methods allow you to craft a base texture image for generating your normal map.

Converting to Grayscale
Normal maps are generated from grayscale images, where the brightness levels represent variations in surface height. To create a normal map, start by converting your texture image to grayscale. In GIMP, navigate to the “Image” menu, select “Mode,” and choose “Grayscale.” This converts the image to black and white, with lighter areas representing raised regions and darker areas representing recessed regions.
Using a Normal Map Plugin
GIMP doesn’t have a built-in normal map generation tool, but you can extend its functionality by installing plugins. One of the most popular plugins is the “NormalMap” plugin. After installing it, follow these steps to create a normal map:
Download and install the NormalMap plugin.
Open the grayscale image in GIMP.
Go to the “Filters” menu and select “Normal Map.”
Adjust the settings in the dialog box, such as intensity and detail, to fine-tune the normal map. Use the preview feature to ensure the result meets your expectations.
Once satisfied, click “OK” to generate the normal map.
The resulting normal map can be used in 3D modeling and rendering to simulate surface detail.
Adjusting and Refining the Normal Map
After generating a normal map, you may want to further refine and adjust it to suit your needs. Common adjustments include:
Contrast Adjustment: Enhance details by adjusting contrast using the “Levels” or “Curves” tools.
Smoothing Effects: If the normal map appears too sharp, apply a blur filter to soften it for a more natural look.
Color Adjustments: While normal maps are typically grayscale, tweaking tonal values can emphasize certain surface details.
These refinements help optimize your normal map for practical applications.
Applying the Normal Map
Once your normal map is complete, you can apply it to a 3D model. Most 3D modeling software supports importing normal maps and integrating them into the material setup for simulating surface detail. To do this, import the generated normal map alongside the base texture and map it onto the surface of the model. You’ll see the surface detail simulated by the normal map without adding extra geometry.
Testing and Optimization
After applying the normal map, test your 3D model to ensure it meets expectations. Examine it under different lighting conditions to verify the effect. If the normal map appears too exaggerated or unnatural, return to GIMP, make adjustments, and reapply it to the model.
With GIMP, you can effectively create textured normal maps to add visual depth and complexity to 3D models. Whether for games, animations, or other 3D projects, normal maps significantly enhance surface detail without increasing polygon counts. By following this guide, you now have the tools and knowledge to create high-quality normal maps. For even better results, visit Relebook to download premium 3D models and textures that elevate your creative projects.
FAQ
How can I improve the quality of my normal maps?
To enhance normal map quality, increase the resolution of your images, adjust detail levels in the grayscale texture, and fine-tune the normal map’s intensity during generation.
Which software supports normal maps created in GIMP?
Normal maps created in GIMP are compatible with most 3D modeling and rendering software, such as Blender, Maya, and 3Ds Max. These tools typically allow you to combine normal maps with base textures for detailed surface effects.
What’s the difference between normal maps and displacement maps?
Normal maps simulate surface details and light interactions without altering geometry, while displacement maps physically modify the geometry of a surface. Normal maps are ideal for low polygon models, while displacement maps are used for high-resolution applications.

